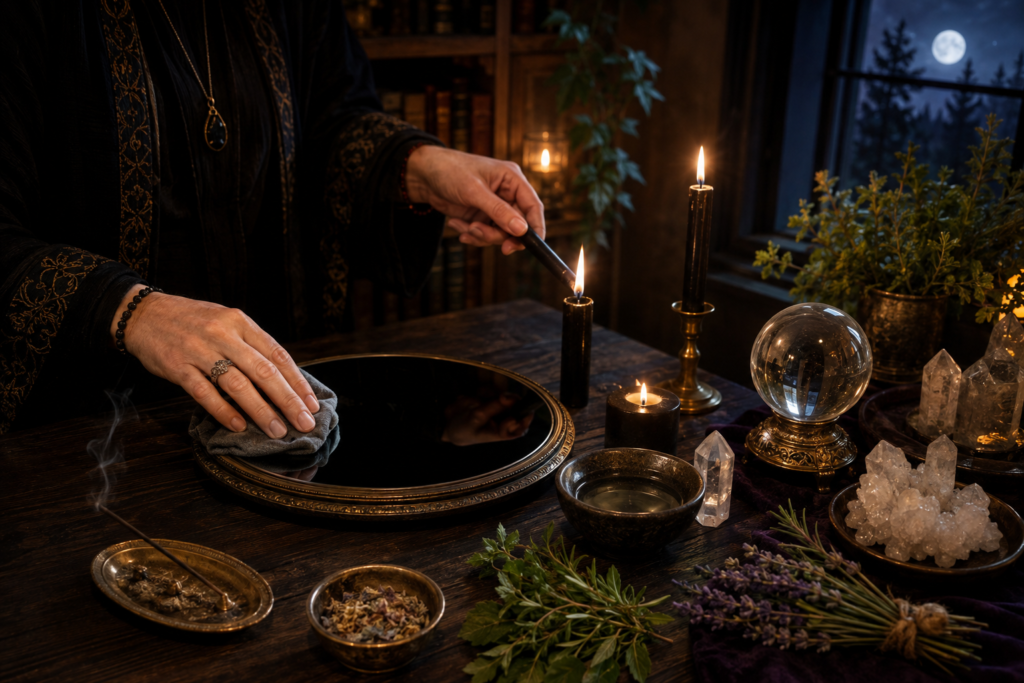
Before gazing into a glass sphere or a dark bowl of water, take time for scrying ritual preparation, then proceed. Additionally, this preparation transforms a simple visual exercise into a deeply focused intuitive session. It calms your nervous system, signals inward focus, and protects your eyes during extended concentration.
To begin, establishing an intentional atmosphere helps you release daily distractions and enter a receptive state of consciousness with clarity. The routine guides you through setting up your sacred space, lighting, and centring your mind.
This scrying ritual preparation, with steps for safety, helps ensure a tranquil and successful experience.
Section 1: Room Cleansing & Energetic Preparation
Preparing your physical space clears ambient static, creates psychological boundaries, and ensures your environment supports quiet concentration.
Step 1: Physically Clear and Wipe Down the Area
Begin by removing physical clutter from your desk or table. Dust, loose papers, and electronic devices distract the physical eyes and create mental static. Clean the surface where your scrying medium will rest, and give your crystal ball, obsidian mirror, or dark bowl a light wipe with a soft micro fibre cloth to remove dust and fingerprints.
Step 2: Purify the Air and Energetic Field
Use your preferred elemental cleanser to clear residual or stagnant energy from the room and your tools:
- Smoke Cleansing: Pass your scrying tool through the smoke of dried rosemary, sage, frankincense, or mugwort, letting the smoke drift around your immediate workspace.
- Sound Cleansing: Ring a singing bowl, chime, or tuning fork directly over the table to use vibration to break up heavy energy.
- Sprays or Waters: Spray a light mist of salt water or floral hydrofoil around the perimeter of your seat (avoid spraying liquid directly onto sensitive stone surfaces).
This step removes residual distractions and marks a clean boundary between everyday life and focused introspection.
Step 3: Cast a Protective Perimeter
Create a clear boundary that signals to your mind that this space is set apart for intuitive work:
- Salt Boundary: Place a small pinch of coarse sea salt at the four corners of your table or room.
- visualisation Boundary: Close your eyes and visualise a sphere or cylinder of white or indigo light forming around your seat and table, keeping out unwanted noise and stray energy.
Step 4: Ergonomic Setup & Distance
Sit in a comfortable chair with your feet flat on the floor and your back supported. Position your scrying tool on a flat table covered with a dark, non-reflective cloth (such as black velvet).
- Distance: Position the tool roughly 12 to 18 inches (30–45 cm) away from your face.
- Angle: Place it slightly below eye level so your neck stays relaxed without slumping forward.
Step 5: Ground and Shift Brainwaves
Close your eyes and take five deep abdominal breaths. Inhale for a count of four, hold for four, and exhale for six. Feel your shoulders drop away from your ears.
Visualise a grounding cord anchoring you to the earth. Additionally, set a clear, simple intention for your session, for example: ‘I seek clarity on my current path’ or ‘I am open to whatever my subconscious reflects’. Having a precise aim helps focus the practice.
Section 2: dialling In Your Lighting Setup
Proper lighting is the single most critical technical detail. Avoid overhead lights, natural sunlight, or total darkness. Position a single white or natural beeswax candle slightly behind or to the side of your scrying tool.
The Goal: The candle flame should illuminate the medium or cast a soft ambient glow without its direct flame reflection appearing in your line of sight. If using a mirror or crystal ball, the surface should look uniformly dark or misty, not glaring.
Because each scrying surface interacts with light differently—ranging from highly reflective to translucent—adjust your light placement to prevent harsh glare and encourage soft focus:
1. Water Scrying (Dark Bowl)
- Surface Properties: Fluid, highly reflective, and movement-sensitive.
- Primary Objective: Cast a gentle glow across the surface without bouncing direct candle flames into your vision.
- Placement Strategy: Dual Side-Flanking (Cross-Illumination).
- Setup Instructions:
- Place two low candles 12 to 18 inches to the left and right of the bowl, slightly behind the front rim.
- Ensure the flame sits below your line of sight so you look down into the dark water rather than into the flame.
- Optional: Drop a small, light-coloured object (like a quartz crystal) at the bottom centre of the bowl to serve as an anchor point for a relaxed gaze.
2. Black Obsidian Mirror
- Surface Properties: High-gloss, flat, opaque, and intensely mirror-like.
- Primary Objective: Avoid seeing your own crisp reflection or the direct image of the candle flame.
- Placement Strategy: Single Diffused Back Light or Side-Angled Shield.
- Setup Instructions:
- Position a single candle 1 to 2 feet behind the mirror, slightly off-centre.
- Tilt the mirror slightly upward (about 10–15 degrees) so it reflects a dark, neutral ceiling or dark cloth rather than your face.
- The light should illuminate the atmosphere around the frame while leaving the face of the glass uniformly dark and velvety.
3. Clear Glass Sphere or Quartz Crystal Ball
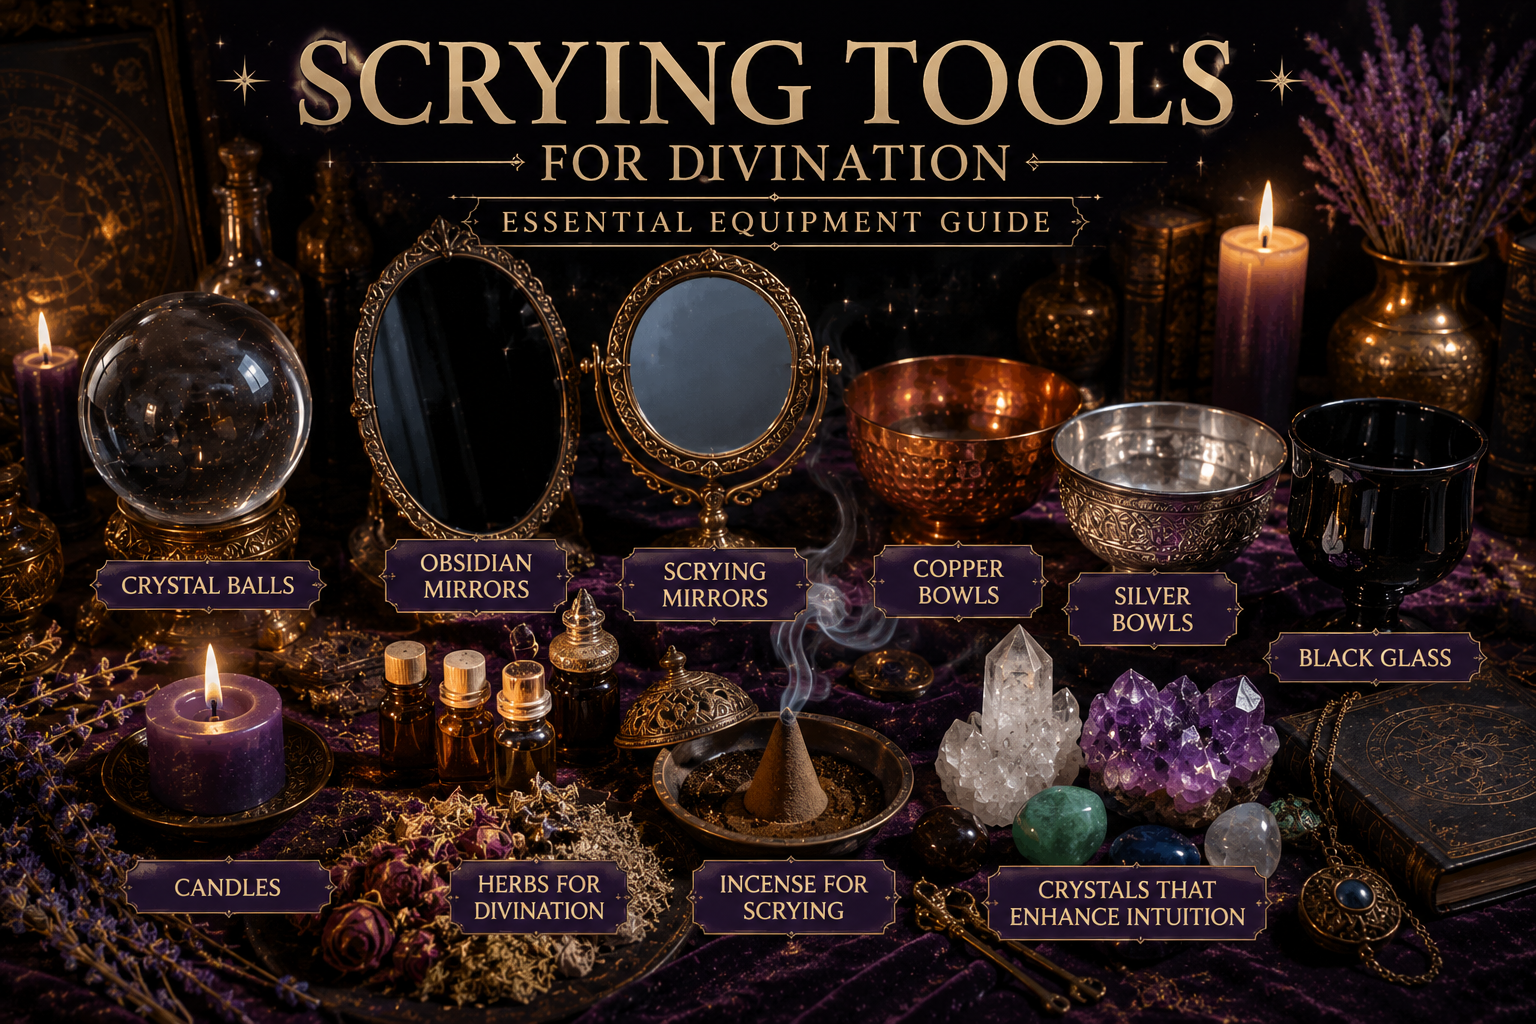
- Surface Properties: 3D convex lens, highly refractive, creates internal optical magnifications.
- Primary Objective: Diffuse light through the sphere to illuminate internal inclusions or create a soft depth without pinpoint visual hot spots.
- Placement Strategy: Under-Base Backlighting or Low Rear-Side Light.
- Setup Instructions:
- Place your main light source behind the crystal sphere at a 45-degree angle, shielded by a small object or dark stand.
- Alternatively, use a soft amber or red LED light pad beneath a wooden stand, covered with a sheer dark cloth.
- The goal is to illuminate the interior of the orb from within rather than shining light onto its front surface.
Master Setup Quick Reference Table
| Medium | Recommended Light Source | Placement Angle | Key Avoidance |
| Water Bowl | 2 Low White/Black Candles | Flanking Left & Right (45°) | Direct centre reflection in water |
| Obsidian Mirror | 1 Candle or Diffused Amber Light | Behind & Off-Centre (Rear) | Seeing your clear face reflection |
| Glass Sphere | Single Soft Candle / Under-Base LED | Low Rear Angle (30°–45°) | Direct top-down overhead glare |
Section 3: Executing the Scrying Gaze & Session
Once your space is cleansed, ergonomics arranged, and lighting dialled in, gently open your eyes to begin the active session.
- Soften Your Vision: Rather than staring intently at the physical surface of your medium, drop your gaze through or into it—much like looking at a 3D stereogram art piece or staring out a window while lost in thought.
- Blink Naturally: Blink whenever needed; forcing your eyes to stay open causes dryness, watering, and fatigue.
- Observe Without Friction: Allow your focus to blur until a fine haze, cloudiness, or shift in visual depth occurs across the surface. Let images, symbols, or feelings arise without immediately attempting to analyze them.
Pro Tip: Keep a notebook and pen right beside your setup before you light the candle. The moment you end your gaze, immediately jot down any shapes, colours, emotions, or words that came to mind before your analytical brain tries to dissect or forget them.
Section 4: Frequently Asked Questions
Space & Energetic Preparation
Do I need to cleanse my scrying tool and space before every single session?
While a deep cleansing ritual isn’t mandatory every time, a quick reset is highly recommended. Wiping down your tool (like an obsidian mirror or crystal ball) and burning a bit of smoke or using a cleansing spray helps clear residual energy and physically removes dust or fingerprints that could distract your focus.
What if I don’t have a quiet, private room to set up in?
You don’t need a dedicated temple room—a quiet corner of your bedroom or even a cleared desk space works well. The key is ensuring you won’t be interrupted. You can use earplugs or soft white noise to block out background household sounds.
Lighting & Eye Strain Setup
Why is dim lighting so important for scrying?
Scrying relies on subtle visual shifts and relaxed ocular focus. Bright overhead light creates glare, harsh reflections, and physical eye strain, which prevents your optic nerve from relaxing into a state where visual phenomena can form.
Where should I place my candle relative to my scrying medium?
Position your candle behind or slightly to the side of your scrying tool—never directly between your eyes and the surface. The light source should cast a gentle, diffuse glow across the tool without creating direct glare or harsh reflection in your line of sight
What candle colour works best for a scrying ritual?
White or natural beeswax candles are traditional and effective defaults:
- White or Beeswax candles promote clarity, protection, and clean energy.
- Black candles help absorb ambient light and reduce unwanted reflections.
- Purple or dark blue candles are also popular for encouraging intuition and psychic focus.
Physical Comfort & Troubleshooting
How far away should I sit from my crystal ball or scrying mirror?
A comfortable distance is usually 12 to 18 inches (30–45 cm) away. Your arms should be able to rest comfortably on the surface without slumping, allowing you to maintain a relaxed gaze without straining your neck.
What should I do if my eyes start to water or feel strained?
Blink naturally! A common misconception is that you must stare without blinking. Forcing your eyes open causes dry eyes and fatigue. Maintain a soft, relaxed “soft focus” gaze (similar to how you look at a 3D illusion image) and blink whenever you feel the urge.
Can I scry using artificial dim light, or does it have to be candlelight?
Candlelight is ideal because the natural flicker stimulates visual processing in a gentle way. However, if flame safety is an issue, you can use a dimmable red or amber LED light placed out of direct sight, or cover a warm lamp with a dark fabric shade.